How to Safely Update Your WordPress Website
WordPress updates are essential for security and SEO but if done carelessly, they can break your site. Here's a step-by-step guide to keeping your WordPress site current without the risk.

WordPress powers more than 43 percent of all websites on the internet. With a massive ecosystem of themes, plugins, and developers, that scale is one of its great strengths and also its most significant vulnerability. Because WordPress is so widely used, it is the most actively targeted platform by automated attacks. The majority of those attacks succeed not through sophisticated methods but through a simple one: they look for sites running outdated software and exploit vulnerabilities that have already been publicly patched.
Keeping your WordPress site updated is the single most effective maintenance task you can perform. It is also one of the most misunderstood. Business owners either avoid it out of fear of breaking something, or apply updates carelessly without preparation and then have to deal with the consequences. Neither extreme is necessary. With the right process, WordPress updates are straightforward, low-risk, and fast.
This guide covers the five maintenance tasks that belong on every WordPress site owner's regular schedule: theme updates, plugin updates, security checks, uptime monitoring, and backup verification.
Before You Update Anything: The Backup First Rule
Every section below will reference this: before you apply any update to a WordPress site, create a backup. A backup means you have a restore point. If an update causes a conflict, a visual change you didn't expect, or in rare cases, a site outage, you can roll back to the exact state the site was in before the update. Without a backup, a failed update can mean hours of troubleshooting or, in the worst cases, rebuilding pages from scratch.
See the Backup section below for how to set this up properly. Once it is in place, the rest of the process becomes significantly less stressful.
Theme Updates
Your WordPress theme controls the visual design and layout of your site. Theme developers release updates to patch security vulnerabilities, fix compatibility issues with the latest version of WordPress core, and improve performance. Falling behind on theme updates is one of the more overlooked risks in WordPress maintenance. Theme vulnerabilities are less frequently discussed than plugin vulnerabilities but are equally exploitable.
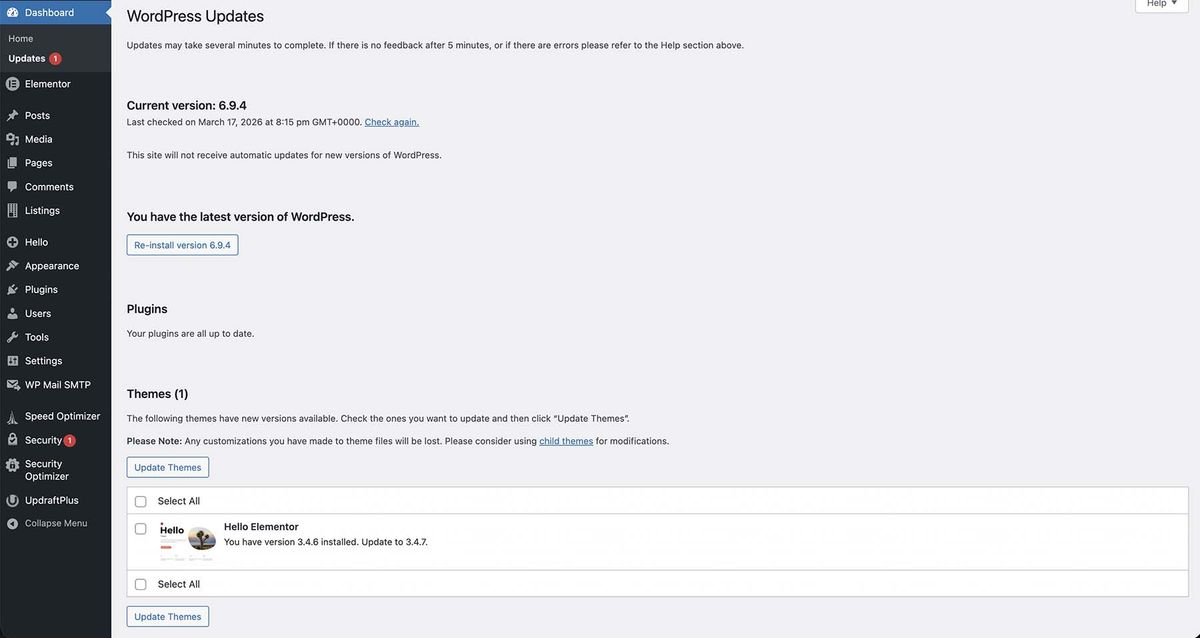
How to check for theme updates:
Navigate to Dashboard > Appearance > Themes. Any theme with an available update will show a notification on the theme card. You can also see all pending updates at Dashboard > Updates.
Before applying a theme update:
- Create a full site backup (see the Backup section below).
- Check whether your site uses a child theme. If it does, your design customizations are stored in the child theme and will survive a parent theme update intact.
IMPORTANT: If you or a previous developer modified the parent theme directly rather than using a child theme, an update may overwrite those changes. If you are unsure which situation applies to your site, check with whoever built it before updating. - Review the theme's changelog if available. Theme developers often publish release notes describing what changed. A security patch should be applied immediately; a feature update can be scheduled.
Applying the update:
Click Update on the theme card or use the Dashboard > Updates page. Once complete, visit the front end of your site and check that your layout and design look correct. Click through a few pages to confirm nothing has shifted unexpectedly.
SEO relevance: Theme updates frequently include performance improvements and code optimizations that affect page load speed, which is a direct Google ranking factor. Keeping your theme current also ensures compatibility with Core Web Vitals improvements that theme developers implement over time.
Plugin Updates
Plugins are the functional engine of most WordPress sites, handling everything from contact forms to SEO tools to e-commerce. They are also the most common entry point for attackers. When a plugin vulnerability is discovered and patched, the patch notes are typically made public which means sites still running the old version become known, documented targets.
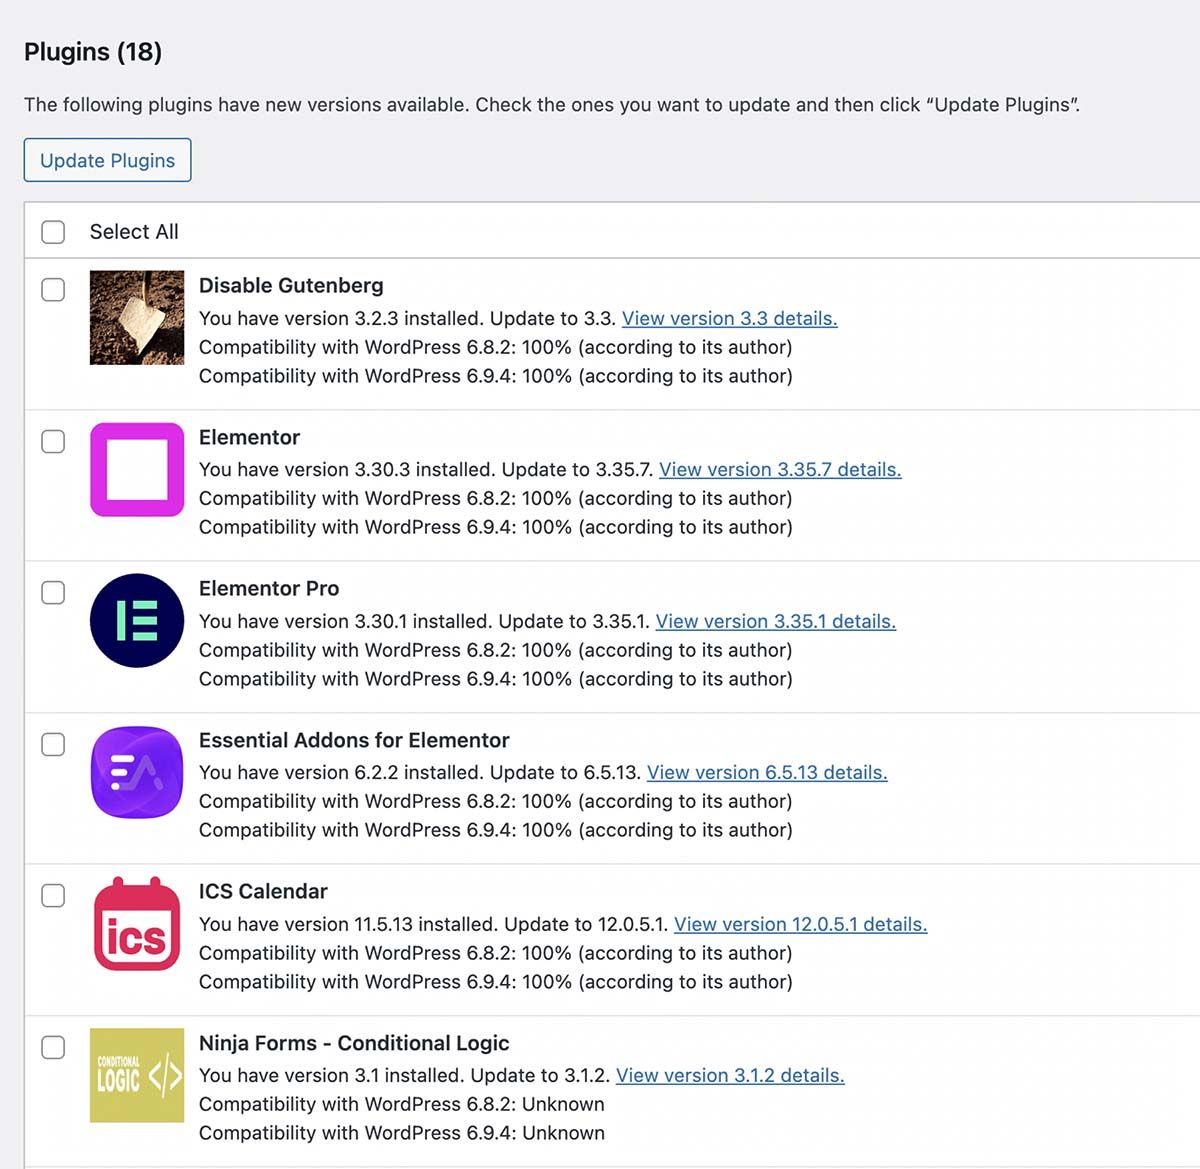
How to check for plugin updates:
Go to Dashboard > Plugins > Installed Plugins. Any plugin with a pending update will display a notification with the version number and a link to the changelog. All pending updates are also visible at Dashboard > Updates.
The right way to apply plugin updates:
Update plugins one at a time, not in bulk. After each update, visit the part of your site that uses that plugin and confirm it is functioning correctly. Updating in bulk makes it much harder to identify which plugin caused a problem if something breaks.
Read the changelog before applying each update. Changelogs are linked directly from the update notification. A security patch should be applied as soon as possible. A major version update (e.g., moving from version 3.x to 4.x) may include significant changes and is worth reviewing more carefully before applying.
Plugin hygiene (what to do beyond updating):
Deactivate and delete any plugins you are no longer using. Inactive plugins can still introduce vulnerabilities and add overhead to your database and page load time. A plugin that is deactivated but not deleted is not fully removed from your site.
Check the status of each plugin on WordPress.org's plugin directory. Each listing shows when the plugin was last updated and whether it has been tested with the current version of WordPress. A plugin that has not been updated in over a year and has not been tested with the current WordPress version should be evaluated for replacement.
SEO relevance: Outdated plugins are the leading cause of WordPress site compromises according to Sucuri's annual threat research. A compromised site can be flagged by Google Safe Browsing, which results in browser security warnings for visitors and a significant drop in search rankings until the issue is resolved and reviewed.
Security Checks
WordPress security is largely about reducing the attack surface. The platform itself is well-maintained by a dedicated security team, but a WordPress site is more than the core software. It is the sum of its theme, its plugins, its hosting environment, and its user accounts. Each of those layers requires attention.
Install a security plugin:
Wordfence and Sucuri Security are the two most widely used options for WordPress. Both offer malware scanning, firewall protection, and login monitoring. The free tier of either is sufficient for most small business sites. Install one, run an initial scan, and set it to scan on a regular schedule.
Enable two-factor authentication:
Two-factor authentication (2FA) requires anyone logging into the WordPress admin to verify their identity with a second step in addition to their password. This effectively neutralizes brute-force password attacks, which are among the most common methods used to compromise WordPress sites. Most security plugins include 2FA, or you can use a dedicated plugin like WP 2FA or SiteGround Security.
Enable 2FA for all administrator accounts. If your site has multiple users, encourage editor and author-level users to enable it as well.
Limit login attempts:
By default, WordPress allows unlimited login attempts, which makes brute-force attacks straightforward. The login protection built into Wordfence, Sucuri and SiteGround Security addresses this automatically.
Review user accounts:
Go to Dashboard > Users. Remove any accounts that are no longer in use which could include former employees, contractors who have finished their work, or test accounts. Confirm that no accounts have administrator access that do not require it. An editor does not need admin privileges; a contributor certainly does not.
Verify your SSL certificate:
Your SSL certificate is what puts the padlock in your site's address bar and enables the HTTPS prefix on your URL. An expired SSL certificate triggers browser security warnings for visitors and is a negative signal for Google. Confirm your SSL is active and set to renew automatically through your hosting provider. Most reputable hosts manage this automatically, but it is worth checking.
SEO relevance: Google has used HTTPS as a ranking signal since 2014. A site flagged as insecure by Google's Safe Browsing service can be blocked in Chrome, Safari, and Firefox -- effectively removing it from reach for most visitors until the issue is resolved.
Uptime Monitoring
WordPress sites are hosted on third-party servers, which means your site's availability depends on your hosting provider's reliability. Hosting servers have incidents. SSL certificates expire. Domain registrations lapse. WordPress sites also occasionally go down due to resource limits being exceeded, plugin conflicts, or database errors.
Without monitoring, you often find out about downtime from a customer rather than a system alert, and by then, the site may have been unavailable for hours.
Setting up uptime monitoring:
UptimeRobot offers free uptime monitoring for up to 50 websites, checking your site every five minutes and sending email or SMS alerts the moment it goes down. Setup takes a few minutes: create a free account, add your site's URL as a new monitor, and configure your alert contacts. That is the full process.
For sites where downtime has meaningful financial consequences (such as eCommerce or online booking) a paid monitoring service like Pingdom or Better Uptime offers more detailed performance reporting alongside uptime alerts.
SEO relevance: Extended or repeated downtime is consequential for search rankings. If Google's crawler visits your site during an outage and encounters server errors, it may reduce crawl frequency or temporarily deindex affected pages. Google's Search Central documentation notes that a site returning persistent 5xx errors will see its pages dropped from the index over time. Monitoring keeps outages short by ensuring they are addressed promptly.
Backup Verification
Most businesses either have no backup system in place or have one configured and have never verified that it actually produces a restorable site.
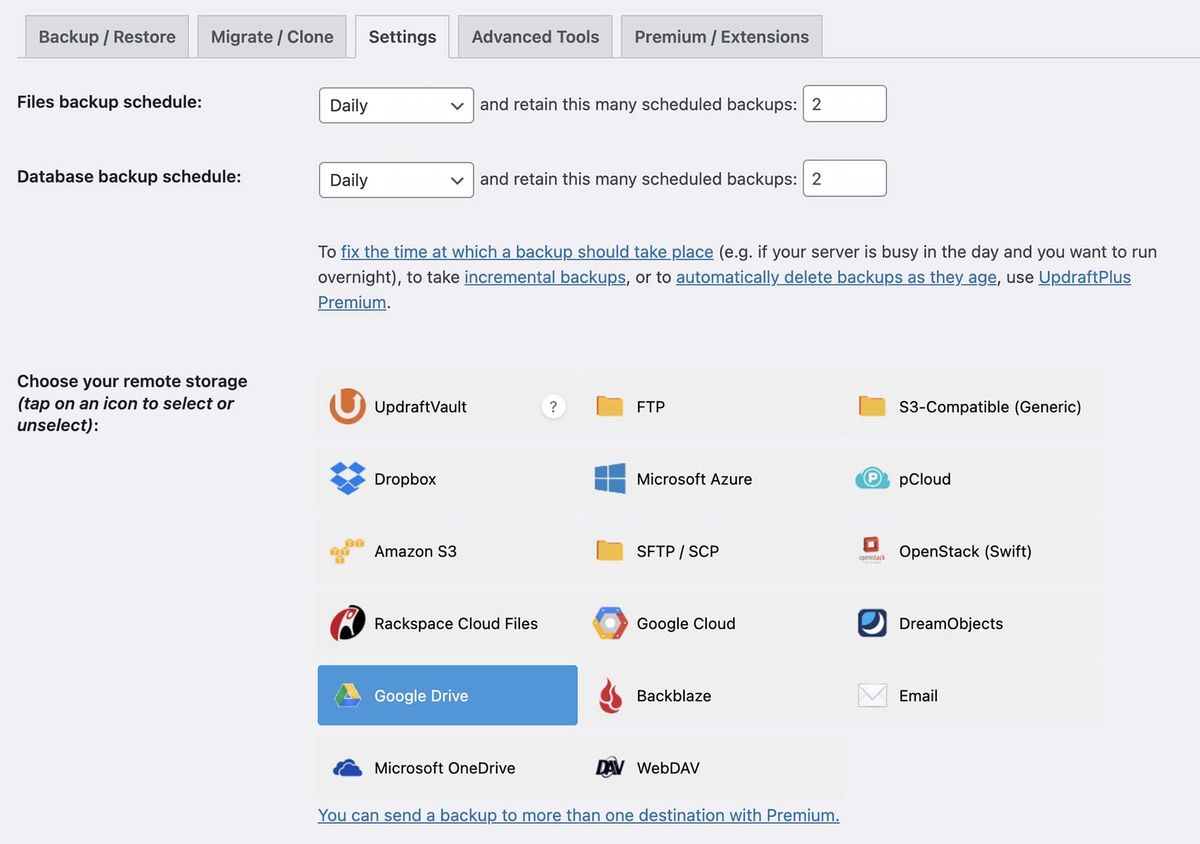
Setting up WordPress backups:
UpdraftPlus is the most widely used WordPress backup plugin. The free version supports scheduled backups and remote storage to Google Drive, Dropbox, Amazon S3, and several other destinations. Configure it to run automated backups at least weekly for a standard business site, or daily for any site that changes frequently.
Remote storage is important. A backup stored only on your hosting server is at risk from the same incidents that could affect your site. Storing backups in Google Drive or Dropbox gives you a copy that is independent of your host.
Your hosting provider may also offer backup functionality. This is worth having as an additional layer, but should not be your only backup because if your host has a significant incident, their backups may be compromised as well.
How to verify your backup works:
Set a reminder to perform a test restore at least once per year. The test does not need to happen on your live site as a staging environment works well for this. The goal is to confirm that your backup file actually produces a working, fully functional website. If the restore process fails or produces errors, you want to discover that during a scheduled test, not during an actual emergency.
UpdraftPlus includes a restore function directly in the WordPress dashboard. Walk through a full restore to a staging environment, confirm the site loads correctly, check that your content and settings are intact, and confirm the restore completed without errors.
Putting It on a Schedule
These five tasks are most useful when they are done consistently rather than reactively. A reasonable maintenance schedule for a WordPress site looks like this:
Monthly: Apply any pending theme and plugin updates (one at a time, after a backup). Run a security scan. Verify uptime monitoring is active and alerting correctly. Confirm a recent backup exists and is stored remotely.
Quarterly: Review installed plugins and remove any that are unused or unmaintained. Audit user accounts and remove any that are no longer needed. Perform a test restore from your most recent backup.
Annually: Review your hosting plan and confirm domain and SSL auto-renewal settings are active. Check for any major version updates to WordPress core or your theme that may have been deferred.
If this schedule feels like more than you want to manage yourself, a monthly maintenance retainer with Mithril Media handles all of it and gives you someone to call when something unexpected comes up.
WordPress maintenance done right can be done safely and routinely. If you'd rather have someone handle it for you, Mithril Media offers maintenance retainers that keep your site updated, backed up, and monitored.
Get a Free Website AuditFollow along on Substack to receive the latest articles in your inbox